Hey there, fellow crafters!
So here's the thing - last week I was at the party store and nearly had a heart attack when I saw the prices. $20 for a simple paper banner? Are you kidding me?!
That's when I knew I had to spill all my secrets for making killer birthday decorations without going broke.
Why I'm Obsessed with DIY Decorations
Honestly, I was skeptical at first too. But once I tried making my own stuff, I was hooked:
- It costs practically nothing
- Everything matches my exact vision
- Plus, that "Wait, you made this yourself?!" reaction from guests... priceless!
My Magic Shopping List
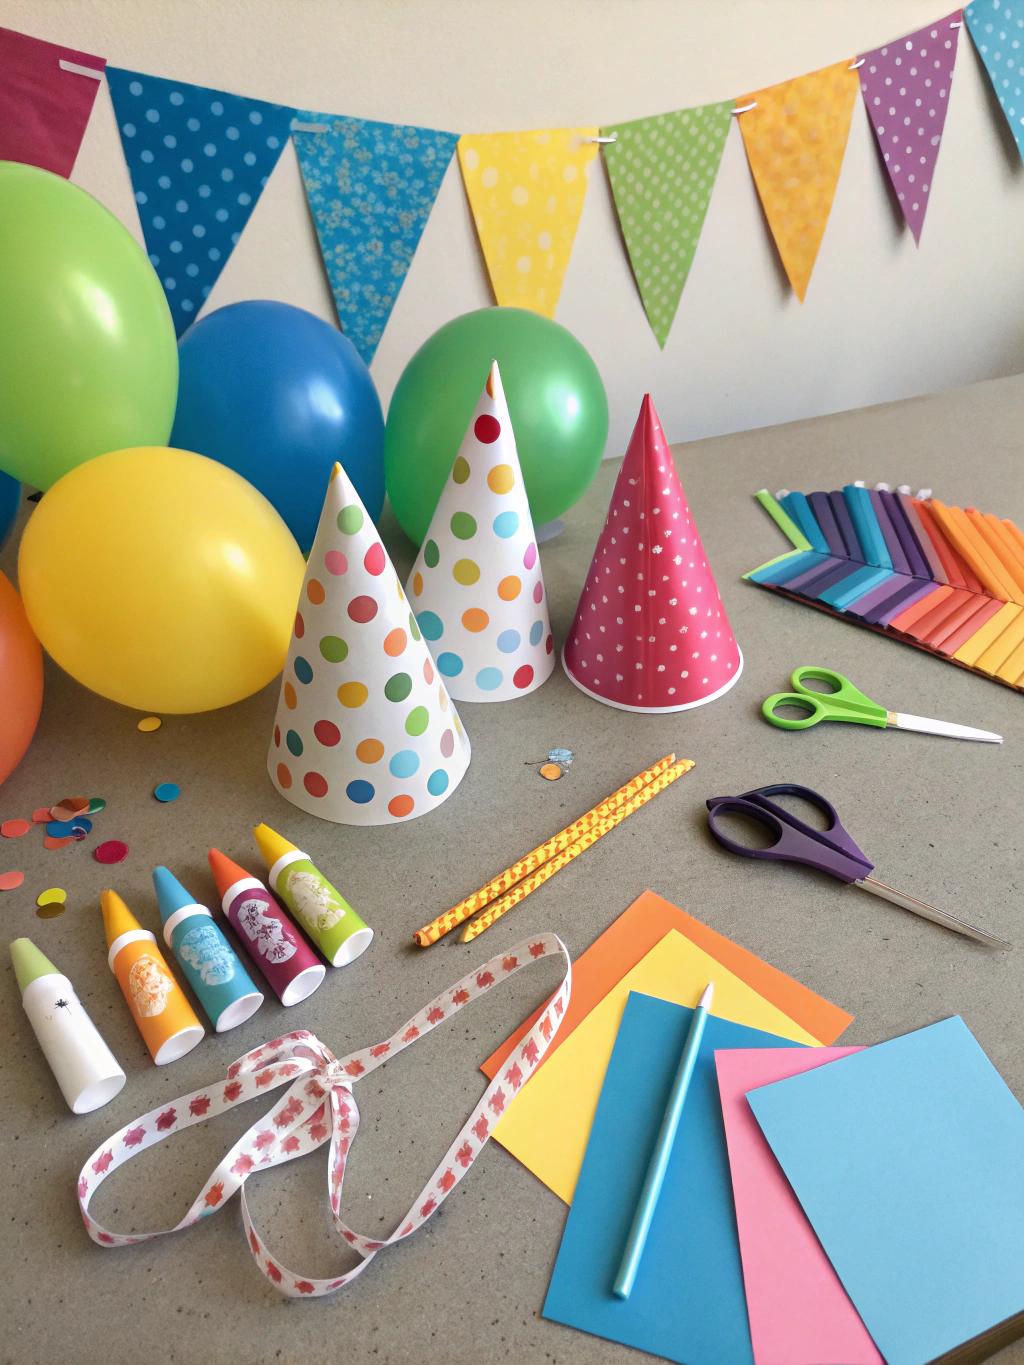
Here's what I always keep stocked in my craft closet:
The Must-Haves:
- Colored paper (I buy in bulk - way smarter!)
- Good scissors (not the kitchen ones, people!)
- Double-sided tape
- Kitchen twine
- Balloons in every color imaginable
- Tissue paper
- Ribbons (I save them from gifts)
- My trusty glue gun (seriously my best friend)
Grandma's trick: I hit up the dollar store first. For $10, I can decorate three different parties!
My Stress-Free Timeline
Because nobody wants to be running around like crazy at the last minute:
- 5 days before: Gather all my supplies
- 2-3 days before: Make all the decorations (it's actually relaxing after work!)
- Day of: Just 30 minutes to set everything up
My 4 Foolproof Techniques
1. Paper Garland (My Classic Go-To)
Super simple but always gets compliments:
- Cut out tons of shapes from colored paper
- Punch holes with my hole puncher
- String everything together
- Boom! An entire wall decorated for $2
My personal hack: I arrange colors in an ombre effect - looks totally professional!
2. Balloon Wall (The Ultimate Wow Factor)
This is my secret weapon for impressing people:
- Blow up balloons in different sizes (pro tip: borrow the neighbor's bike pump!)
- Tie them in little clusters of 3-4
- Stick them to the wall with moving tape
Little secret: Metallic balloons mixed in make everything look fancy!
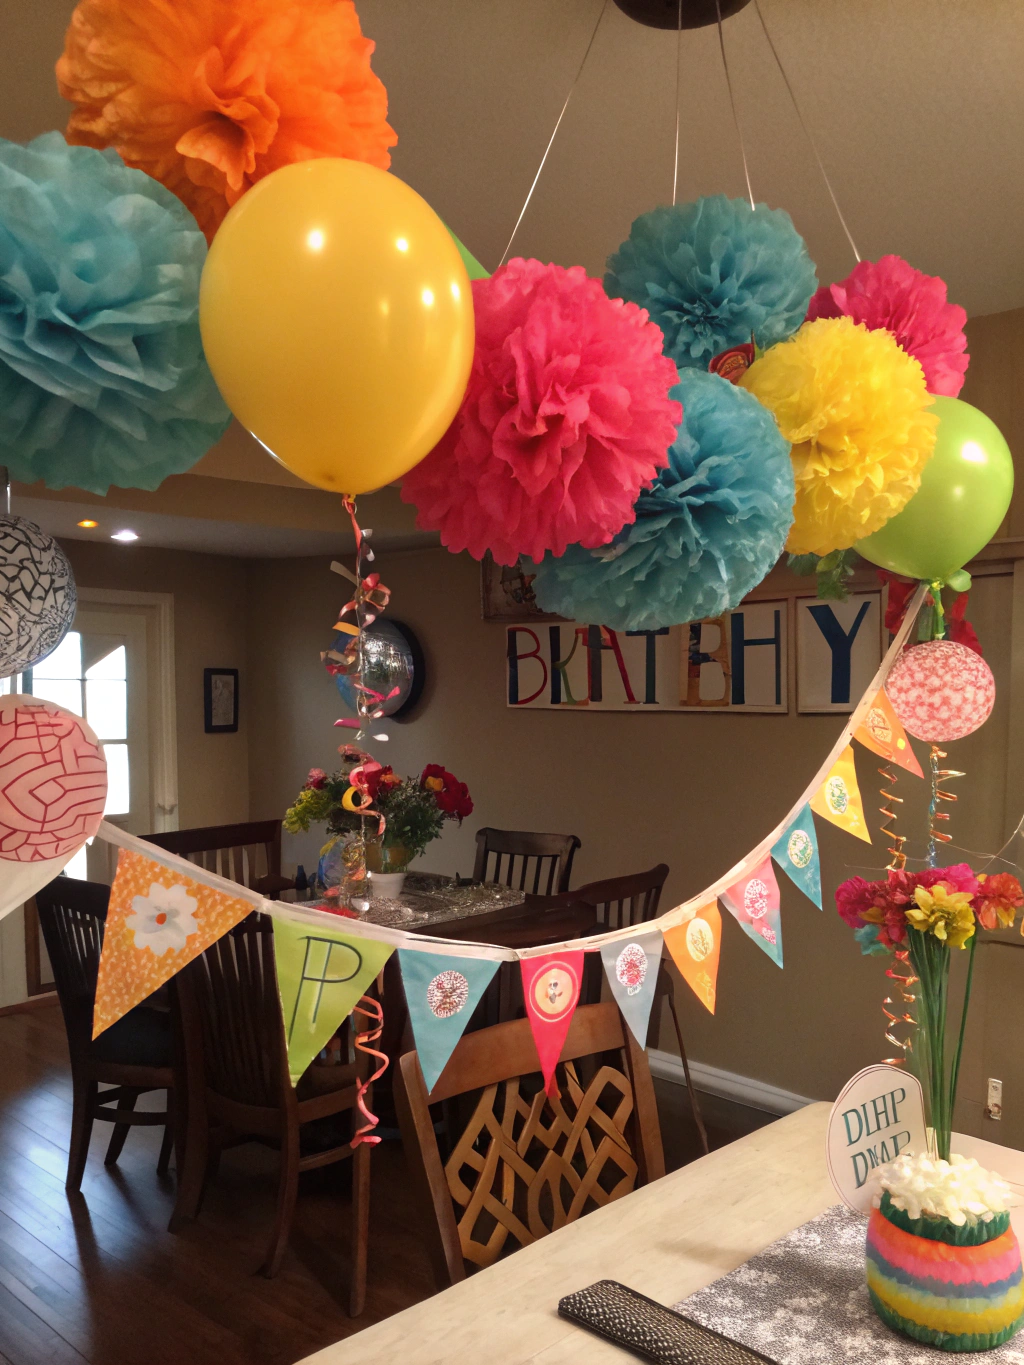
3. Tissue Paper Pom-Poms (My Signature Move)
This became my specialty! Everyone asks where I buy them:
- Take 6-8 sheets of tissue paper
- Fold accordion-style
- Tie the middle with wire
- Cut the ends rounded
- Carefully separate each layer
The extra touch: I make different sizes for dimension!
4. Custom Banner (The Personal Touch That Kills)
- Cut rectangles from colored cardstock
- Write one letter per piece
- Connect with pretty ribbon
My secret weapon: I add the person's age with glitter. Always gets smiles!
What It Actually Costs Me
Let's be real about the money:
- Paper and string: $12
- Balloons: $10
- Tissue paper: $4
- Ribbons: $8
- Basic supplies: $18 (but that's a one-time investment!)
Total: Between $30-40 for a complete setup that looks amazing!
And honestly, compared to the $100+ I was about to drop at the store...
My Cheapskate Hacks (No Shame!)
When the budget's really tight:
- Old newspapers make awesome vintage garlands
- Cut plastic bags into strips = free streamers
- White Christmas lights work year-round
- Project patterns on the wall with cut-out cardboard shapes
- Grab branches from the yard for that rustic vibe
My Tried-and-True Themes
For color lovers: Rainbow everything! Instant mood booster.
For the sophisticated crowd: Gold, silver, copper. Classy vibes guaranteed.
For dreamers: Tropical theme with paper palm leaves.
For romantics: Starry night with navy blue and gold stars.
For vintage souls: Old book pages and mason jars.
My Rookie Mistakes (So You Don't Make Them)
- I underestimated quantities: Now I always buy 20% extra
- I did everything the night before: Total stress! Now I start early
- I didn't measure the space: My garlands were too short... oops!
- I cheaped out on tape: Everything fell during the party. So embarrassing!
- I tried to get too fancy: Simple and effective wins every time
How I Store Everything
Because starting from scratch every time is silly:
- Pom-poms in freezer bags (they keep perfectly!)
- Banners flat in a book
- Balloons somewhere dry
- I take photos to remember my setups
With this system, I reuse decorations 3-4 times. Even more savings!
Bottom Line...
Honestly, since I started making my own decorations, birthdays feel more special. They're more personal, more heartfelt. And seeing people's faces when they realize I made everything myself... that never gets old!
So what decoration are you gonna try first? Hit me up on social media with your creations - I love seeing what you come up with!
Questions People Always Ask Me
"When do you start prepping?" I say 3-5 days ahead is perfect. Paper stuff can be done weeks early. But balloons? Day before, max!
"What about outdoor parties?" Great question! I use weather-proof materials and secure everything with fishing line. Always have a backup plan for rain!
"What gives the biggest bang for your buck?" Balloon walls and big pom-poms, hands down! They fill space without breaking the bank.
"Can I do this with my kids?" Absolutely! Little ones love scrunching tissue paper, bigger kids can cut and assemble. Plus it keeps them busy!
"How do I make it look professional?" My secret: stick to 2-3 colors max, keep things symmetrical, and lighting makes all the difference!

0 Comments